
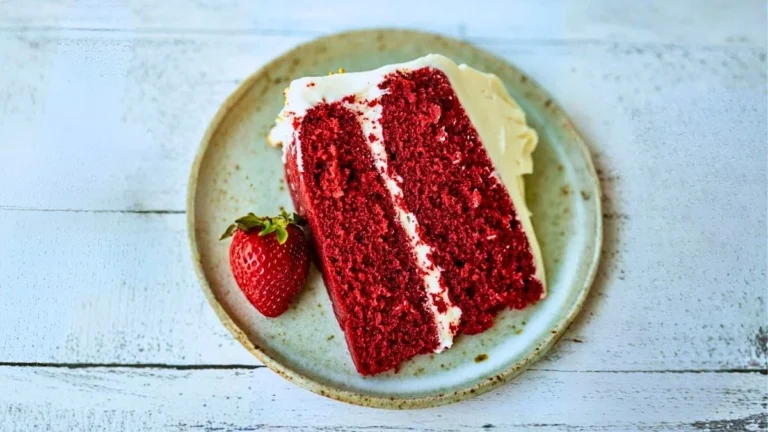

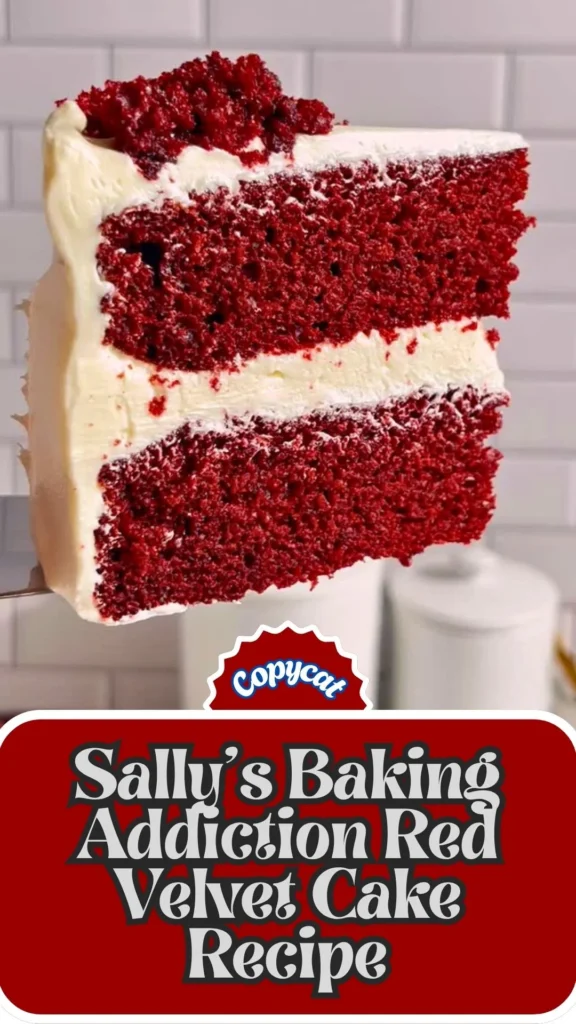
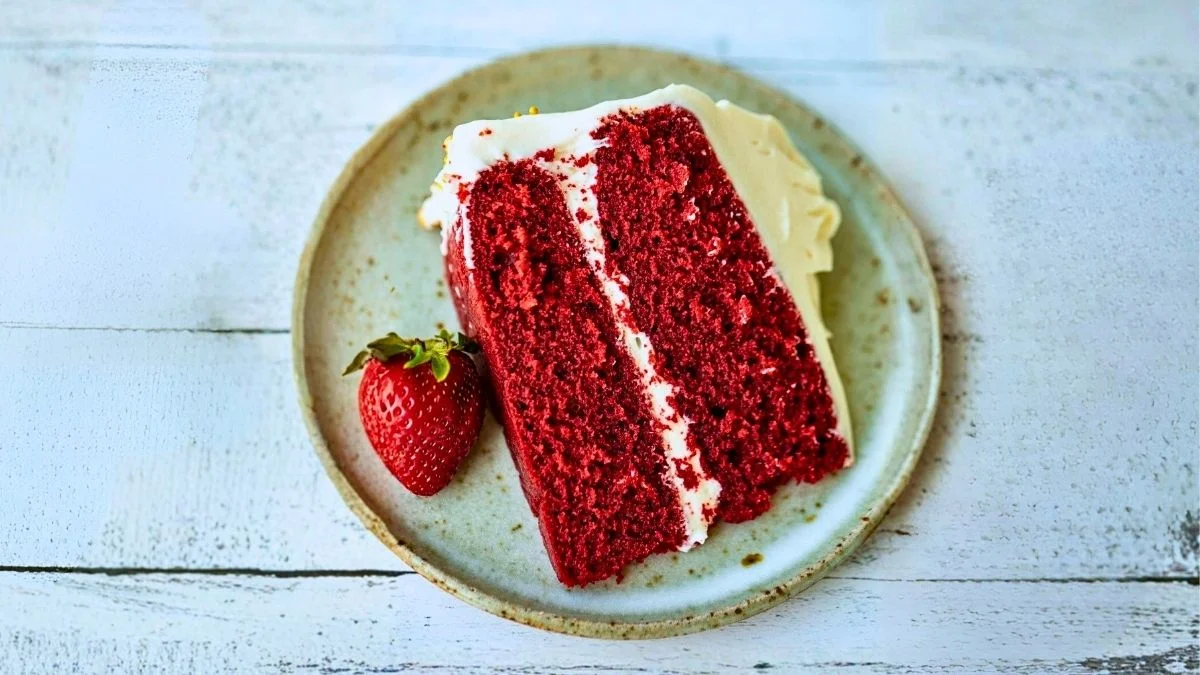
A homemade Sally’s Baking Addiction Red Velvet Cake is one of those classic desserts that always feels special. It has a rich buttery flavor, a hint of cocoa, and the signature velvety crumb that makes every slice unforgettable. Topped with smooth cream cheese frosting, this cake is perfect for birthdays, holidays, or any celebration.
This Red Velvet Cake is known for its balanced flavor, moist texture, and beautiful deep red color. The combination of cake flour, buttermilk, whipped egg whites, butter, and oil creates a bakery-style cake that is soft, light, and incredibly tender.
In this Sally’s Baking Addiction Red Velvet Cake Recipe, I’ll show you exactly how to recreate this classic cake at home. You’ll learn the ingredients, baking tips, frosting instructions, storage methods, and everything you need for a perfect red velvet cake every time.
What Is Sally’s Baking Addiction Red Velvet Cake Recipe and What Does It Taste Like?
Red velvet cake is a traditional American layer cake that combines subtle cocoa flavor with rich vanilla, tangy buttermilk, and a buttery finish. Unlike a simple vanilla cake with red coloring, authentic red velvet has its own unique flavor profile and an incredibly soft crumb.
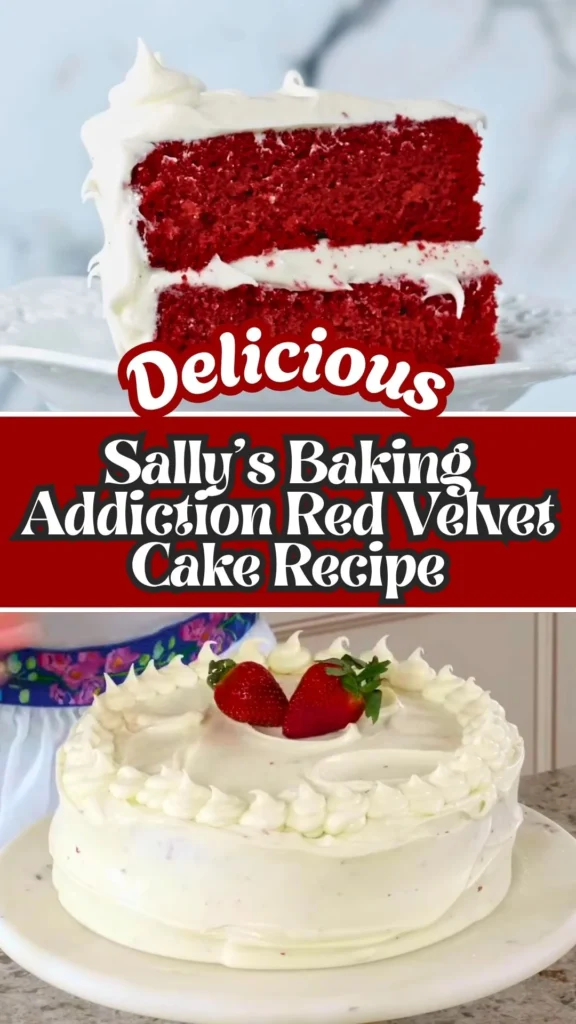
The texture is what truly makes this cake stand out. Thanks to cake flour and whipped egg whites folded into the batter, every bite is light, fluffy, and wonderfully velvety. Using both butter and oil gives the cake rich flavor while keeping it exceptionally moist.
The cake pairs beautifully with homemade cream cheese frosting. The frosting adds a creamy, slightly tangy sweetness that perfectly balances the mild cocoa flavor, making every slice rich without being overly sweet.
Sally’s Baking Addiction Red Velvet Cake Recipe Ingredients
Gather all the following ingredients, before you start making this Sally’s Baking Addiction Red Velvet Cake
For the Red Velvet Cake
- 2½ cups cake flour
- 2 tablespoons unsweetened cocoa powder
- 1 teaspoon baking soda
- ½ teaspoon salt
- ½ cup (113g) unsalted butter, softened
- 1½ cups granulated sugar
- ½ cup vegetable oil
- 2 large egg yolks
- 2 teaspoons vanilla extract
- 1 cup buttermilk, room temperature
- 1 tablespoon red gel food coloring (or as needed)
- 2 large egg whites
- 1 teaspoon white vinegar
For the Cream Cheese Frosting
- 16 ounces (2 blocks) cream cheese, softened
- ½ cup (113g) unsalted butter, softened
- 4 cups confectioners’ sugar
- 2 teaspoons vanilla extract
- 1–2 tablespoons milk
- Pinch of salt
Kitchen Utensils Required
- Mixing bowls
- Electric hand mixer or stand mixer
- Measuring cups and spoons
- Rubber spatula
- Fine mesh sieve
- Whisk
- 2 or 3 round cake pans (or a 9×13-inch baking pan)
- Cooling rack
- Offset spatula
- Cake leveler or serrated knife
- Piping bag (optional)
Preparation & Cooking Time
| Task | Time |
|---|---|
| Preparation Time | 30 minutes |
| Baking Time | 30–35 minutes |
| Cooling Time | 1 hour |
| Frosting & Decorating | 20 minutes |
| Total Time | About 2 hours 25 minutes |
Just follow this simple step by step guideline to make your homemade version of Sally’s Baking Addiction Red Velvet Cake in a delicious way.
Step 1: Prepare the Oven and Pans
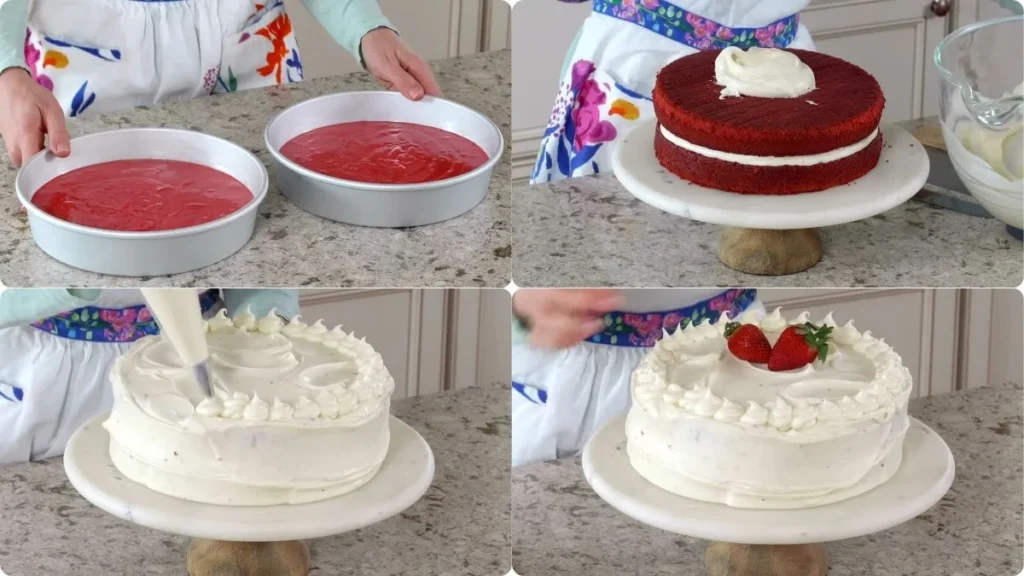
Preheat your oven to 350°F (175°C). Grease and line two or three round cake pans (or a 9×13-inch pan) with parchment paper.
Step 2: Make the Batter
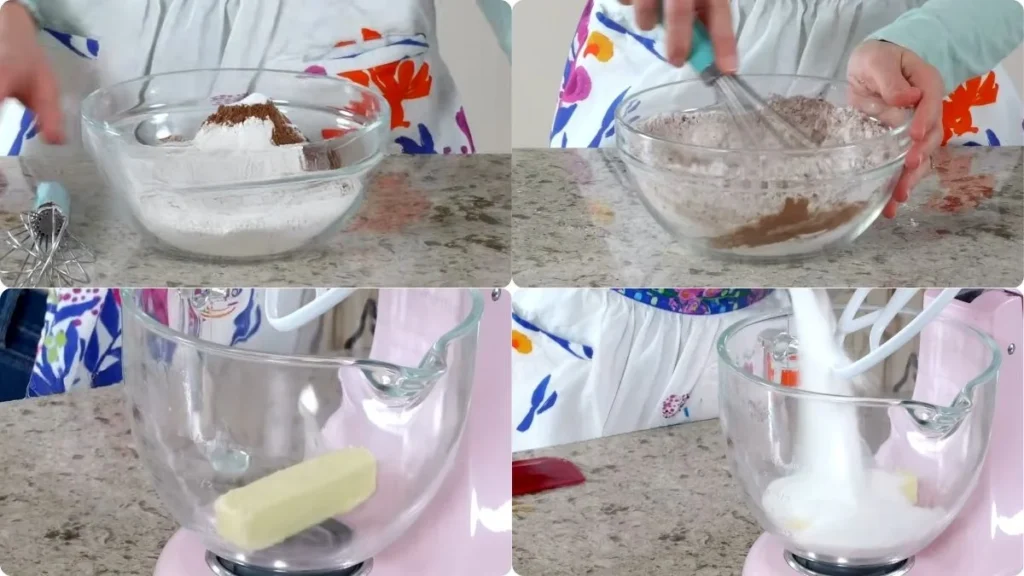
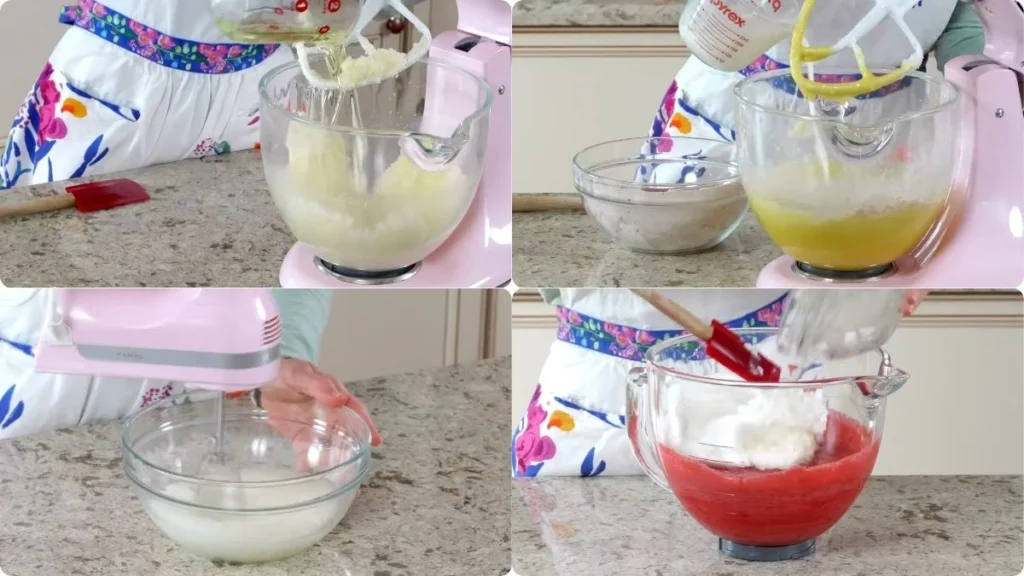
Whisk together the cake flour, cocoa powder, baking soda, and salt. In another bowl, beat the butter and sugar until fluffy, then mix in the oil, egg yolks, and vanilla. Alternate adding the dry ingredients and buttermilk, mixing just until combined. Stir in the red gel food coloring.
Step 3: Fold in the Egg Whites
Beat the egg whites until soft peaks form. Gently fold them into the batter with a spatula to create the cake’s signature light, velvety texture.
Step 4: Bake the Cake
Divide the batter evenly among the prepared pans. Bake for 30–35 minutes, or until a toothpick inserted in the center comes out clean. Cool the cakes completely on a wire rack.
Step 5: Make the Frosting
Beat the cream cheese and butter until smooth. Add the confectioners’ sugar, vanilla, milk, and a pinch of salt, then mix until light and creamy.
Step 6: Assemble and Decorate
Level the cooled cake layers if needed. Spread frosting between each layer and over the top and sides. Chill the frosting for 20 minutes before piping decorations, then slice and serve.
Delicious Ways to Customize and Serve This Sally’s Baking Addiction Red Velvet Cake
Here are some Variations and Customizations ideas you can try to enjoy this Sally’s Baking Addiction Red Velvet Cake deliciously
1. Serve with Fresh Berries
I love adding a handful of fresh strawberries, raspberries, or blueberries alongside each slice. The juicy fruit adds a refreshing contrast to the rich cream cheese frosting and makes the cake feel even more special.
2. Enjoy with a Hot Cup of Coffee
A warm mug of freshly brewed coffee is one of my favorite pairings for this cake. The slight bitterness of the coffee balances the sweetness perfectly, making every bite taste even better.
3. Top with Vanilla Ice Cream
Whenever I want to turn this cake into an extra-indulgent dessert, I add a scoop of creamy vanilla ice cream. The cold ice cream slowly melts over the cake, creating an irresistible combination.
4. Drizzle with Chocolate Ganache
For chocolate lovers, a light drizzle of warm chocolate ganache takes this red velvet cake to another level. It adds extra richness without overpowering the cake’s classic flavor.
5. Pair with a Glass of Cold Milk
There’s something nostalgic about enjoying a slice of red velvet cake with a cold glass of milk. It’s simple, comforting, and always a crowd-pleaser, especially for kids.
6. Decorate with Toasted Pecans or Walnuts
I like sprinkling chopped toasted pecans or walnuts over the frosting before serving. The crunchy texture adds a nice contrast to the soft, velvety cake.
7. Serve with Fresh Whipped Cream
A dollop of lightly sweetened whipped cream makes each slice feel airy and elegant. It’s an easy way to dress up the cake for parties or family dinners.
8. Pair with Hot Chocolate
On chilly evenings, I enjoy serving this cake with a rich cup of hot chocolate. The creamy drink and the moist cake create a cozy dessert that’s hard to resist.
9. Add a Dusting of White Chocolate Shavings
A few white chocolate curls on top make the cake look bakery-worthy. They also add a creamy sweetness that pairs beautifully with the tangy cream cheese frosting.
10. Serve at Celebrations with Fresh Mint Garnish
For birthdays, holidays, or dinner parties, I like garnishing each slice with a small sprig of fresh mint. It adds a pop of color and a light, fresh finish that makes every serving look extra inviting.
My Personal Experience and Some Tips on This Sally’s Baking Addiction Red Velvet Cake Recipe
The first time I made this Sally’s Baking Addiction Red Velvet Cake Recipe, I could tell it was different from other red velvet cakes. The batter was smooth and fluffy, and the whipped egg whites made it feel extra light.
When the cake came out of the oven, it smelled like butter, vanilla, and a little cocoa. Every slice was soft, moist, and had that perfect velvety texture. The cream cheese frosting was rich and creamy, and it matched the cake so well.
Now, this is one of my favorite cakes to bake for birthdays and family gatherings because everyone always asks for another slice.
Tips for the Best Sally’s Baking Addiction Red Velvet Cake Recipe
1. Use cake flour instead of all-purpose flour. It makes the cake extra soft and gives it the classic velvety crumb.
2. Whip the egg whites until fluffy peaks form. Gently fold them into the batter to keep the cake light and airy.
3. Choose full-fat buttermilk. It adds a slight tang and helps create a tender, moist cake.
4. Use both butter and oil. Butter gives rich flavor, while oil keeps the cake moist for days.
5. Pick gel food coloring. Gel coloring gives a bright red color without adding too much liquid to the batter.
6. Let the cake cool completely before frosting. Even a slightly warm cake can melt the cream cheese frosting and make decorating difficult.
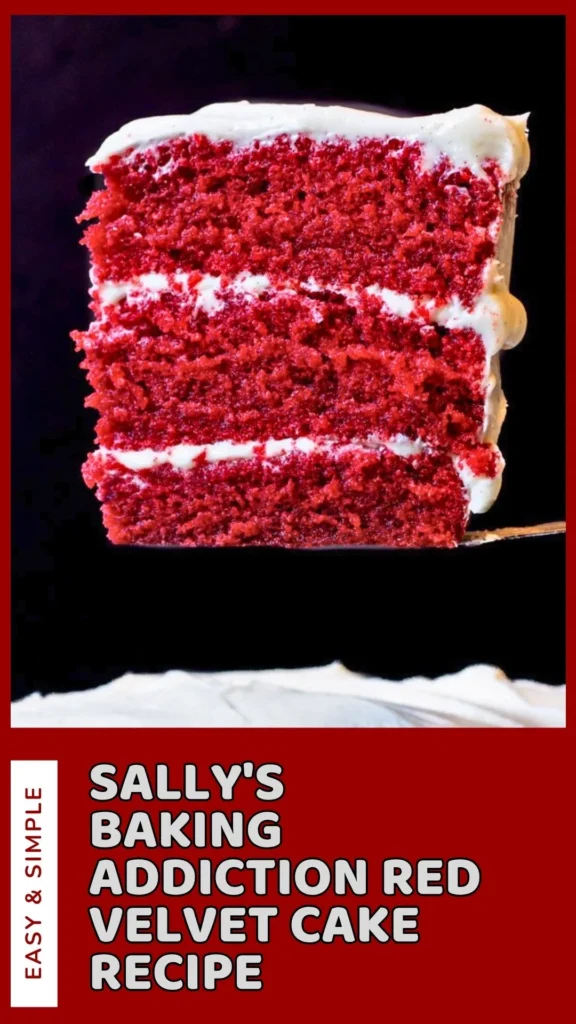
7. Chill the frosting before piping. Place the cream cheese frosting in the refrigerator for about 20 minutes if you plan to pipe decorations. It will hold its shape much better.
How to Store and Reheat Leftover Red Velvet Cake Properly?
Store the frosted cake covered in the refrigerator for up to 5 days. Let slices sit at room temperature for about 20–30 minutes before serving for the best flavor and texture. Unfrosted cake layers can be wrapped tightly and frozen for up to 3 months. Thaw overnight in the refrigerator before frosting.
Nutrition Facts and Dietary Notes
One slice of Sally’s Baking Addiction Red Velvet Cake Recipe contains approximately 520–580 calories, depending on the frosting amount and serving size. It provides carbohydrates, fats, and a small amount of protein.
For a gluten-free version, use a gluten-free cake flour blend. Replace dairy products with plant-based alternatives and eggs with suitable substitutes for a vegan adaptation. A true keto version requires low-carb flour and sweeteners. While this cake is an indulgent dessert, homemade ingredients let you control the quality and freshness of every bite.
Sally’s Baking Addiction Red Velvet Cake Recipe
Ingredients
Method
- Preheat your oven to 350°F (175°C). Grease and line two or three round cake pans (or a 9×13-inch pan) with parchment paper.
- Whisk together the cake flour, cocoa powder, baking soda, and salt. In another bowl, beat the butter and sugar until fluffy, then mix in the oil, egg yolks, and vanilla. Alternate adding the dry ingredients and buttermilk, mixing just until combined. Stir in the red gel food coloring.
- Beat the egg whites until soft peaks form. Gently fold them into the batter with a spatula to create the cake’s signature light, velvety texture.
- Divide the batter evenly among the prepared pans. Bake for 30–35 minutes, or until a toothpick inserted in the center comes out clean. Cool the cakes completely on a wire rack.
- Beat the cream cheese and butter until smooth. Add the confectioners’ sugar, vanilla, milk, and a pinch of salt, then mix until light and creamy.
- Level the cooled cake layers if needed. Spread frosting between each layer and over the top and sides. Chill the frosting for 20 minutes before piping decorations, then slice and serve.
Video
Notes
FAQs on this Sally’s Baking Addiction Red Velvet Cake Recipe
When you give this Sally’s Baking Addiction Red Velvet Cake Recipe a try, you might have a few questions. Don’t worry-we’ve rounded up answers to the most common ones to help you out.
1. How many days does red velvet cake last?
From our experience, a frosted red velvet cake stays fresh for up to 5 days when stored in an airtight container in the refrigerator. For the best taste and texture, let it sit at room temperature for about 20–30 minutes before serving.
2. What temperature should my red velvet cake be?
We always bake red velvet cake at 350°F (175°C) for even baking and a soft crumb. When serving, we prefer the cake slightly warmed to room temperature because the cake becomes softer and the cream cheese frosting tastes creamier.
3. What are the features of red velvet cake?
A good red velvet cake has a soft, velvety crumb, mild cocoa flavor, rich buttery taste, subtle tang from buttermilk, and a moist texture. It is traditionally finished with cream cheese frosting, which perfectly complements the cake’s flavor.
4. What are the ingredients in red velvet cake?
The main ingredients we use are cake flour, cocoa powder, butter, vegetable oil, sugar, eggs, buttermilk, vanilla extract, baking soda, salt, vinegar, and red food coloring. The frosting is made with cream cheese, butter, powdered sugar, vanilla, milk, and a pinch of salt.
5. Can I make red velvet cake without food coloring?
Yes! We’ve made it both ways, and the flavor stays exactly the same. Without the food coloring, the cake turns into a beautiful light cocoa color instead of bright red, but it’s just as delicious.
6. Why do you use both butter and oil in this recipe?
We’ve found that using both gives the best results. Butter adds rich flavor, while vegetable oil keeps the cake incredibly moist for days. Using only one of them doesn’t create quite the same balance.
7. Why is cake flour recommended instead of all-purpose flour?
From our baking experience, cake flour produces a much softer and finer crumb. It gives the cake its signature light and velvety texture that red velvet cake is known for.
8. Can I bake this as a sheet cake instead of a layer cake?
Absolutely. We’ve baked this recipe as both a layer cake and a sheet cake with excellent results. Just keep the oven at 350°F (175°C) and adjust the baking time depending on the size of your pan.
9. Why do I need to whip the egg whites separately?
Whipping the egg whites before folding them into the batter makes a noticeable difference. We’ve found this extra step creates a lighter, fluffier cake with the soft, velvety texture that makes this recipe stand out.
10. Can I freeze red velvet cake?
Yes, and we’ve done it many times. Wrap the cooled, unfrosted cake layers tightly in plastic wrap and then foil before freezing. They keep well for up to 3 months. Thaw them overnight in the refrigerator before frosting and serving.
This Sally’s Baking Addiction Red Velvet Cake Recipe delivers everything you could want in a classic red velvet dessert—rich buttery flavor, a hint of cocoa, tangy buttermilk, and an incredibly soft crumb topped with luscious cream cheese frosting.
Whether you’re baking for a holiday, birthday, or weekend treat, this recipe is sure to impress. Try it yourself, and don’t forget to share a slice with family and friends!
Drop a comment on the blog with your feedback-I can’t wait to hear what you think. Also, follow along on Pinterest, Facebook and YouTube for more tasty updates. Your support and thoughts mean the world!
This is the absolute best red velvet cake I have ever made!